|
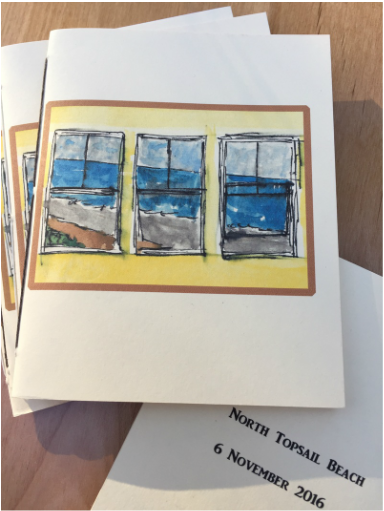
I went to the beach with my men's group a few weeks ago and did a little watercolor, with which I am pleased. I flatter myself that my sketching may be rising to level of "beach art!" In any case, I scanned it and used it for some blank books.
0 Comments
For the last few weeks I have started every work session by making a few small blank books, just a humble pamphlet stitch holding a single gathering in a cover made of card stock or heavy paper. I like that, in a single sitting -- really just a few minutes -- I get to practice all the component actions of book construction : plan, fold, cut, sew, paste (sometimes). I'm feeling much more intimate with my paper. I'm developing a much better sense of how various kinds of paper act when manipulated, folded, pasted, etc. AND, because my hands are engaged, the distraction monkey in my head is calmed, but because the tasks are so familiar, my mind is able to drift, allowing creative ideas to bubble up. When I'm done, I feel fresh and relaxed, eager to move on to other projects. AND, because it's not Serious Book Arts, I don't feel pressure to execute difficult and precise expressions of meaningful and momentous book art. I just have fun trying things that are light-hearted and may or may not be successful. I have made this a risk-free time for myself. Perhaps not surprisingly, I have produced some things that I quite like. AND, I get to use up lots of scrap paper. Brian Allen, whose letterpress studio includes a guillotine, has begun renting shop time, so I can make books out of all different size pages and, when I have a stack, go over to Brian's and trim the edges. AND, friends and relatives seem delighted to have my little books. Typically, they ask for one and then grab a few more, "For ___ and ___." It pleases me to do this and I'm having fun.
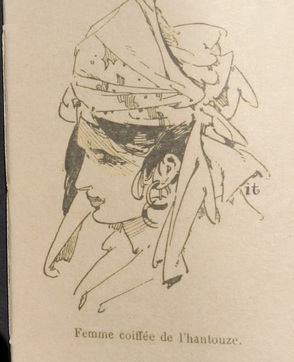
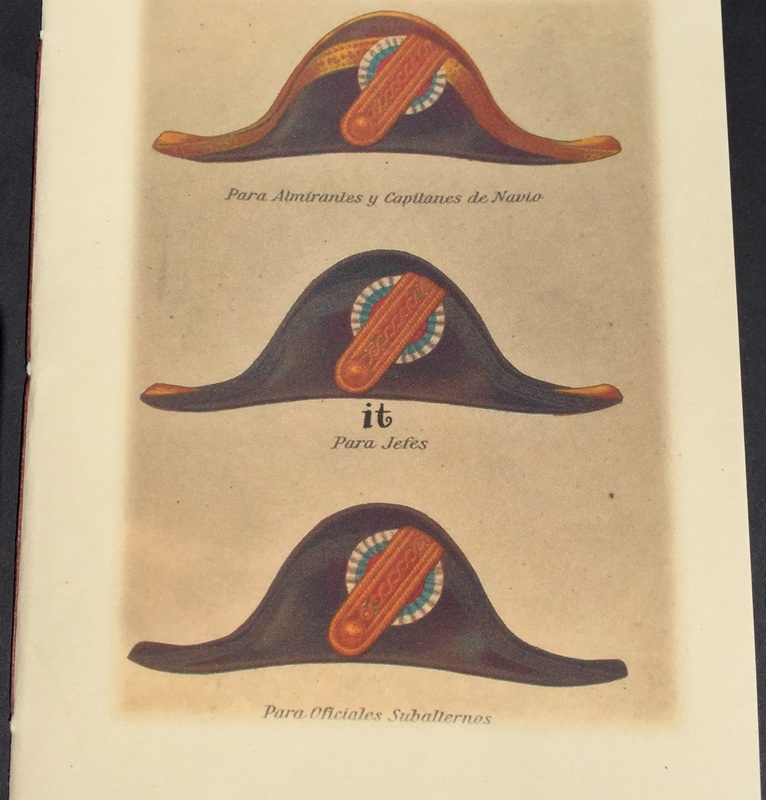
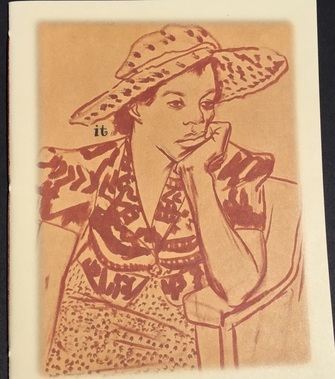
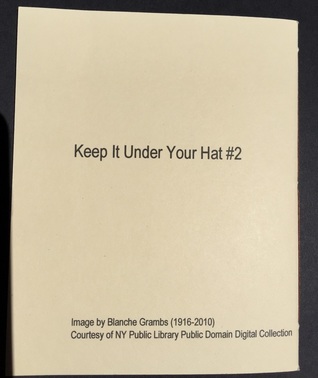
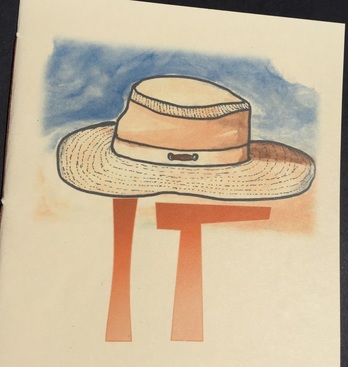
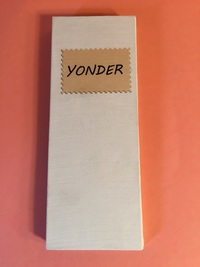
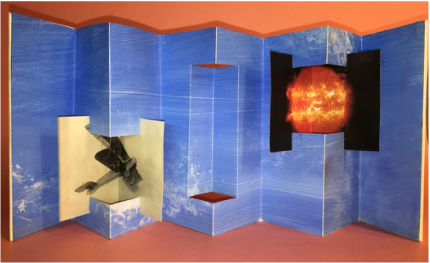
One "series" of little books involves covers that I have printed in my inkjet printer. I have added the word, "it" beneath an image of a hat (either a public domain image or one that I created myself. The back cover proclaims, "Keep It Under Your Hat." Let me know what you think. After more than a year, I'm back to this blog, attempting to break out of the procrastinator's spiral down to absolute zero. The last year has given me so much to write about that I am daunted by the task of getting the blog caught up, so I give myself permission to pass over the missed time and simply pick up with what's happening now. I will feel free to fly back in time and fill in the the huge blank as I can. I am keeping a list of words that please me -- favorite words, for lack of a better designation. I am planning/starting a thematically-linked cluster of projects that have grown out of these words (more about that another day). The first one completed is a variation of a structure I learned from Shereen LaPlantz's book, The Art and Craft of Handmade Books (pp 40-43). The word is YONDER. It's fun to say, and I like the homey feel. Even more, I am attracted to the aspirational pull of phrases like "the wild blue yonder". It's easy to let oneself be seduced by the promise of great rewards just (be)yond(h)er(e). I made the paste paper; the plane and sun images are from public domain collections (NYPL and NASA respectively). An encouraging word in the comment section would be very, well, encouraging.
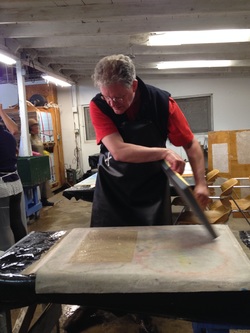
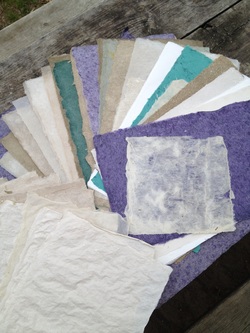
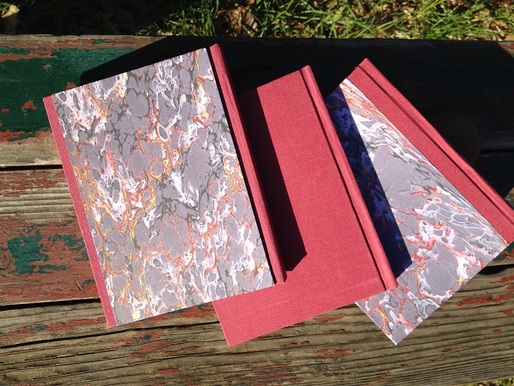
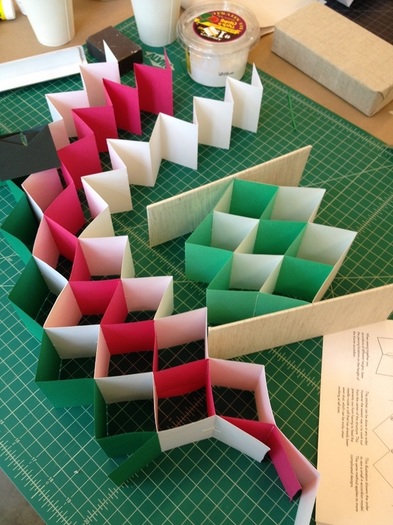
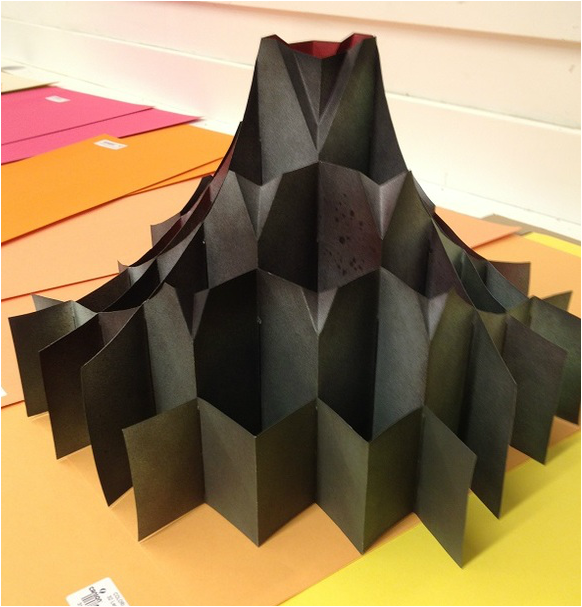
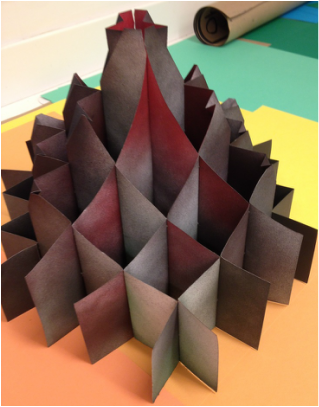
It has been way too long since I updated this blog. Soon after my last entry, I drove to Michigan and spent ten days immersed in the Paper & Book Intensive. What an experience! So good, in fact that I kept putting off writing about it because I didn't think I could do it justice -- and I can't, really. So I'll just say that it was challenging, exhilarating, inspiring and endlessly fun. I learned from and with some wonderful artists and became part of a community that is passionate about book and related arts. I made new friends and acquired new skills. There's so much more to say, but I'll limit myself to a few words about each of the classes I took. Sheet-a-thon was a paper-making class with the distinguished and irrepressible Steve Miller. We cranked out paper, trying various combinations of several fibers, using both eastern and western techniques. Here's a picture of me couching a sheet and one of my share of the class's production: The other half of my days in the first session was taken up learning Variations in Case Binding from Chris McAfee. Chris is not only a ukulele virtuoso, but a great teacher. Here are the books I made: The second session, four full days, was devoted to a class with Kevin Steele called The Multi-Accordion: Flexible in more ways than one. First, we made a couple of maquettes of the structure, which Kevin developed himself. We also learned a few basic pop-up structures. Here are my maquettes (the second one is still in progress): We spent the last two days developing individual projects. It was amazing (and inspiring) how many different directions people in the class went with this structure. I varied the height along each row and from one row to the next and then used spray paint -- to pretty good effect, I think. Here's my project: I can't say enough in praise of PBI. A magical experience. I hope I'll be able to go again.
On April 18, I returned to Pyramid Atlantic for a class with Linda Rollins. They called it Bookbinding III, and the day was taken up making a case bound book. As before, I enjoyed working with Linda. She noticed and acknowledged the skills I have mastered, but didn't hesitate to point out mistakes and to help me fix them. She gave good, honest feedback while remaining positive and encouraging. A great teacher!
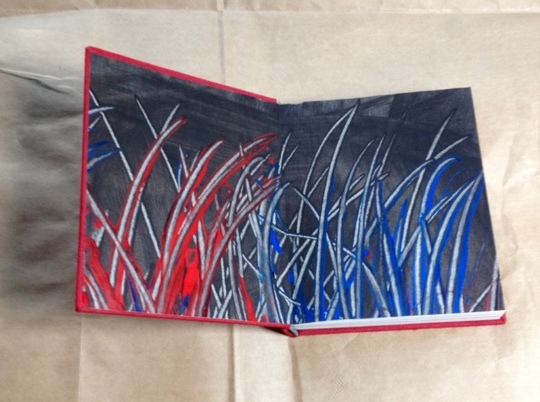
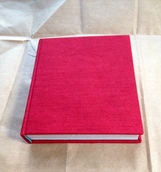
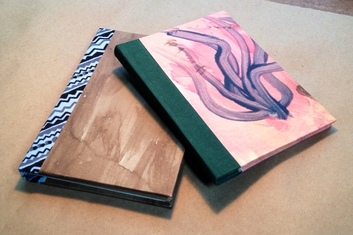
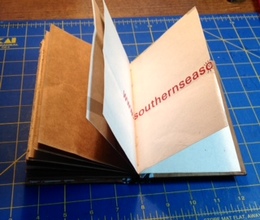
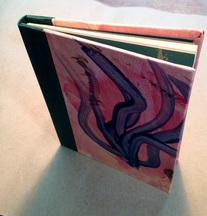
I am pleased with the book. I managed to complete it without any major blunders and I think think it is handsome. The decorative end papers are my own paste paper. Pyramid Atlantic has a hot stamp machine -- we didn't think to turn it on in time to let it heat up, but I cold stamped a decorative curlycue shape on the front cover. The embossing is not deep, but it is quite visible. The photo below doesn't do it justice. By way of practicing this newly-learned structure, I have made a couple more. For the larger one, I used brown paper from shopping bags for the text block and end papers. The smaller one is more normal. Both are covered with my own paste paper.
Robin Harper held a class on the Sewn Board Binding last Saturday. As ever, she was a model of cogency and patience. I have been wanting to try this structure for a while, but I've been daunted by the explanations I found online. Either they didn't have enough clarity and detail for me actually to follow along and create a book, or they made it clear that you need a fully-equipped studio, including a guillotine. Robin's directions were clear and comprehensive, her feedback was respectful and useful, and we finished to book using only hand tools. Robin said that when you learn a new structure, you should make twelve more in order to internalize the process. It may be a while before I get twelve of these done, but I have started a couple more, so I'll have a start on my dozen before next weekend's class. Here are some pictures of my book from Saturday:
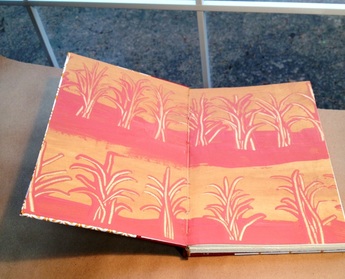
My sister asked me to make a book for her, so along with the piece for her auction (see my last post), I made her a blank book. She asked for a case-bound style, so I made another sewn end paper book à la Kathy Steinsberger. Like the last ones I wrote about, everything went beautifully until the last step -- gluing the text block into the case. The first time I did it, I glued the the block in upside down. Ooof. Great destruction trying to undo it. I was able to salvage some things but had to re-do others and, except for sewing the text block, I had to reassemble from scratch. I'm thinking I won't make that mistake again soon. The second effort came out better, if not perfect. The end papers are my own paste paper. I also rolled my own head bands.
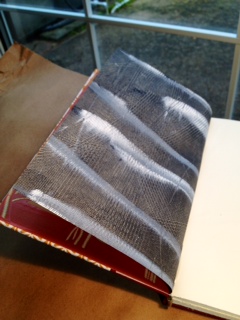
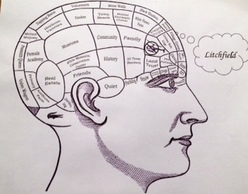
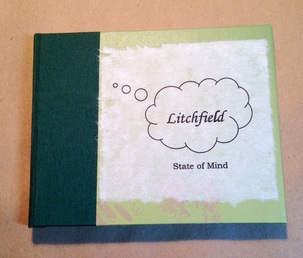
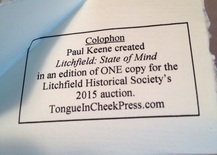
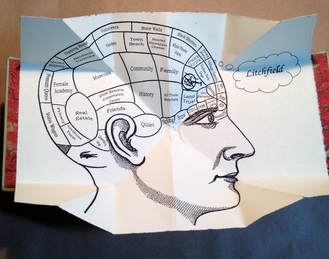
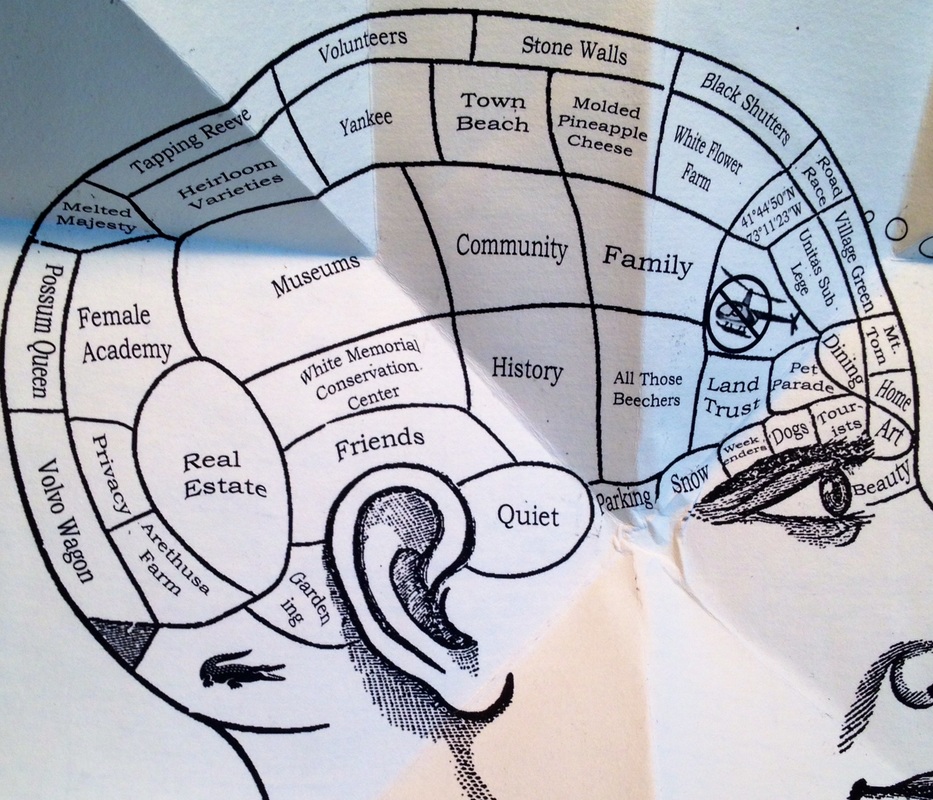
Cathy Fields, the director of the Litchfield County [Connecticut] Historical Society, invited me to submit a piece to their annual fundraiser in which local artists donate work which is auctioned off as part of a gala evening. I'm not exactly local to Litchfield, but I have family there -- Cathy is my sister. The theme for this year's auction is "Litchfield State of Mind." I started with one of those phrenology charts. I found one in the public domain (in fact it is from one of O.S. and L.N. Fowler's mid-nineteenth century works on phrenology) and erased all the words from the image. With the help of several people who know Litchfield better than I do, I generated a list of 50+ words that reflect different aspects of Litchfield. I then put these words in to the head. Painstaking work, I must say. I mixed serious with humorous, important with trivial. My goal was to raise a smile without being offensive. Finally, I added a thought bubble saying, "Litchfield," and got this: I printed a nice copy on Hahnemuhle Ingres paper and arranged it into a Turkish map fold, which I cased in quarter cloth over boards. I don't know how it will be received in Litchfield, but I had fun making it.
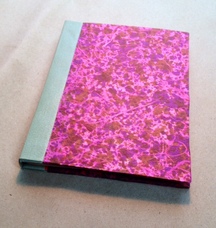
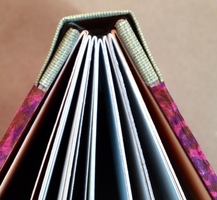
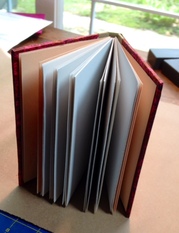
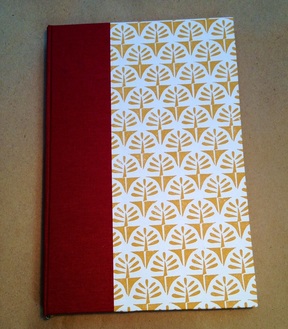
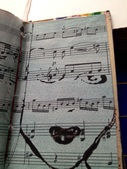
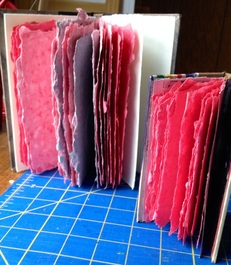
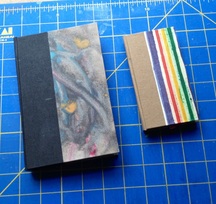
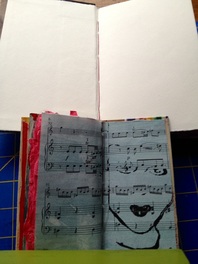
Having successfully made a case-bound book (French link stitching, sewn-in endpapers) under the eye of a teacher, I thought I'd better practice on my own. It occurred to me that the hand-made paper that I did in the March 8 class at Pyramid Atlantic would be well used here, so I took the smaller size sheets and and folded them into signatures. All went well until the final casing. I had made the end paper out of paste paper made from a page of a broken book, and it turned out not to be strong enough. I also didn't glue it in correctly. Oops. Well, that's why we practice. The rear end paper did better, and I like my line printed face looking out from the musical score. Unfortunately, the book just doesn't open hardly at all. It looks OK, but doesn't function. I clearly needed to try again, so I checked out some internet tutorials and figured out what I was doing wrong. This time I used the stack of larger size paper I made at Pyramid. Not as pretty and uniform as the smaller ones, but just fine for this project. I didn't try to get fancy with the end papers -- just used some Hahnemuhle Ingres paper. Things went much better this time and, except for the squares being not quite even, the book was a success. This one also features my own paste paper on the 1/4 cloth cover. Looks pretty good, I think. Here are some photos of the two books:
|
About Me
After retiring from 36 years as a public school educator, I am practicing book arts. Archives
December 2016
Categories |

 RSS Feed